Learn how to repot a cactus safely without hurting yourself, including the best tools, gloves, soil, pot choice, and step-by-step cactus repotting tips.
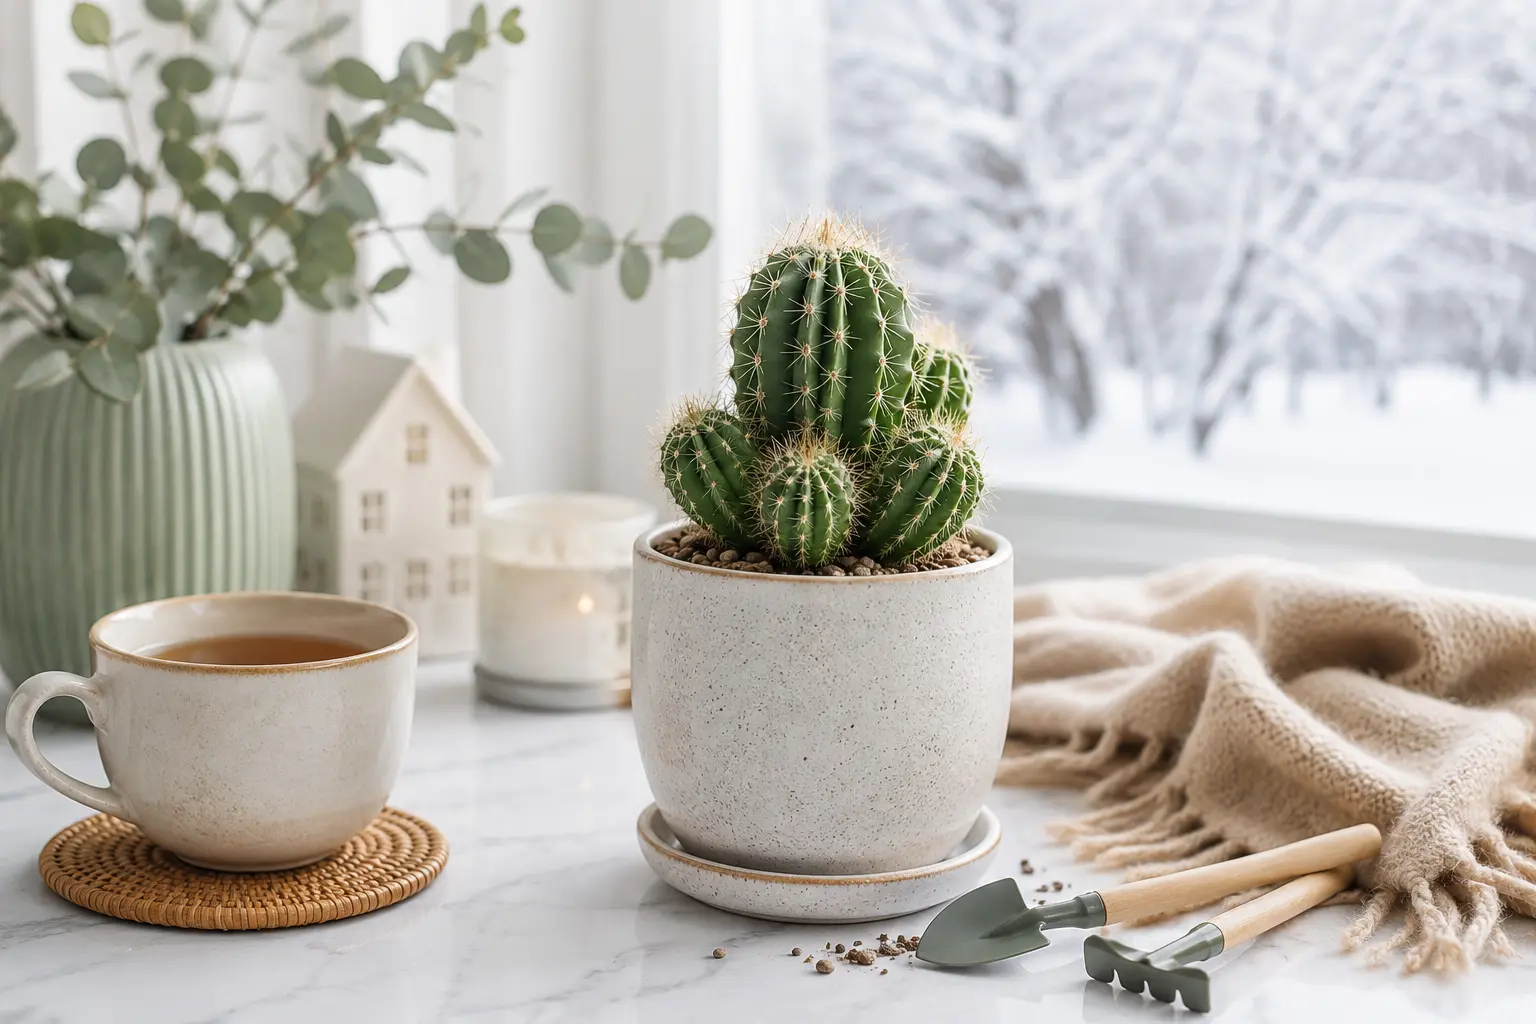
How to Repot a Cactus Without Hurting Yourself
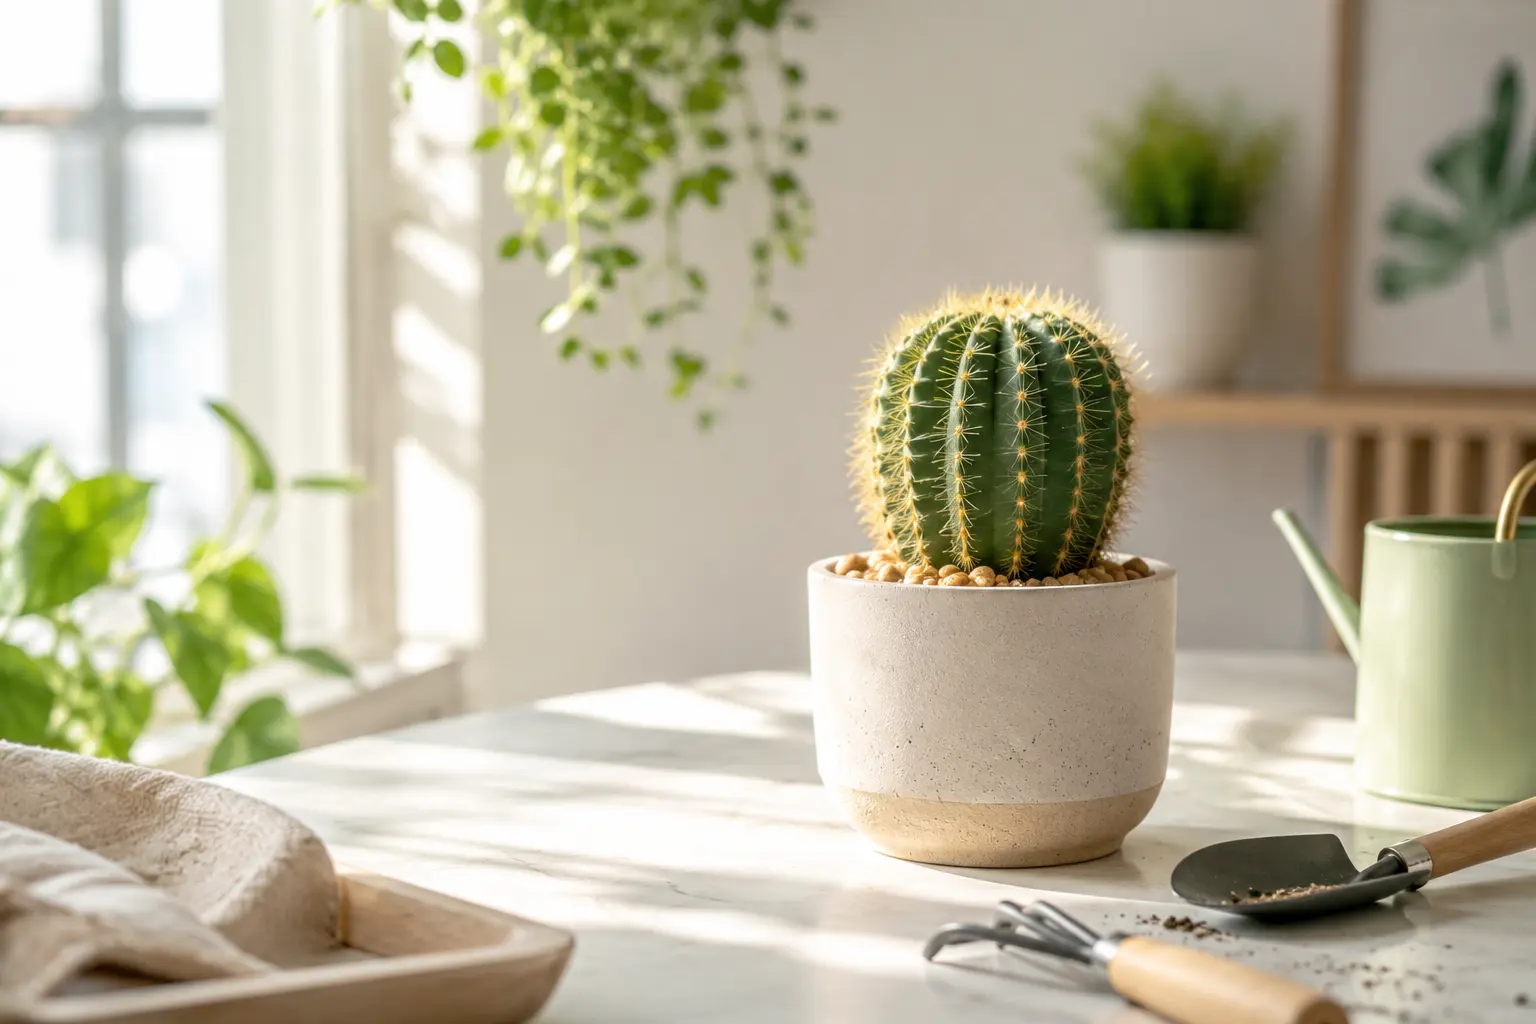
Repotting a cactus can feel scary, especially if the plant has sharp spines. Many beginners worry about getting hurt or damaging the cactus during the process. The good news is that repotting a cactus can be safe and simple when you use the right tools and follow careful steps.
Cactus plants do not need to be repotted very often, but they do need fresh soil and more space when the pot becomes too small. In this guide, you will learn how to repot a cactus without hurting yourself, how to protect your hands, and how to help your cactus settle into its new pot.
When Should You Repot a Cactus?
Most cactus plants only need repotting every two to three years. You do not need to repot your cactus often unless there is a clear reason. Repotting too frequently can stress the plant and disturb the roots.
You should consider repotting if the cactus has outgrown its pot, roots are coming out of the drainage holes, the soil stays wet too long, or the plant looks unstable. Repotting is also useful if the soil is old, compact, or causing drainage problems.
Beginner tip: The safest way to repot a cactus is to use thick gloves, folded paper, cardboard, or a towel to hold the plant without touching the spines directly.
Best Time to Repot a Cactus
The best time to repot a cactus is usually during spring or early summer. During this period, many cactus plants begin active growth and can recover more easily after being moved to a new pot.
Avoid repotting during winter unless there is a serious problem such as root rot, pests, or very wet soil. In winter, cactus plants grow more slowly and may take longer to recover from stress.
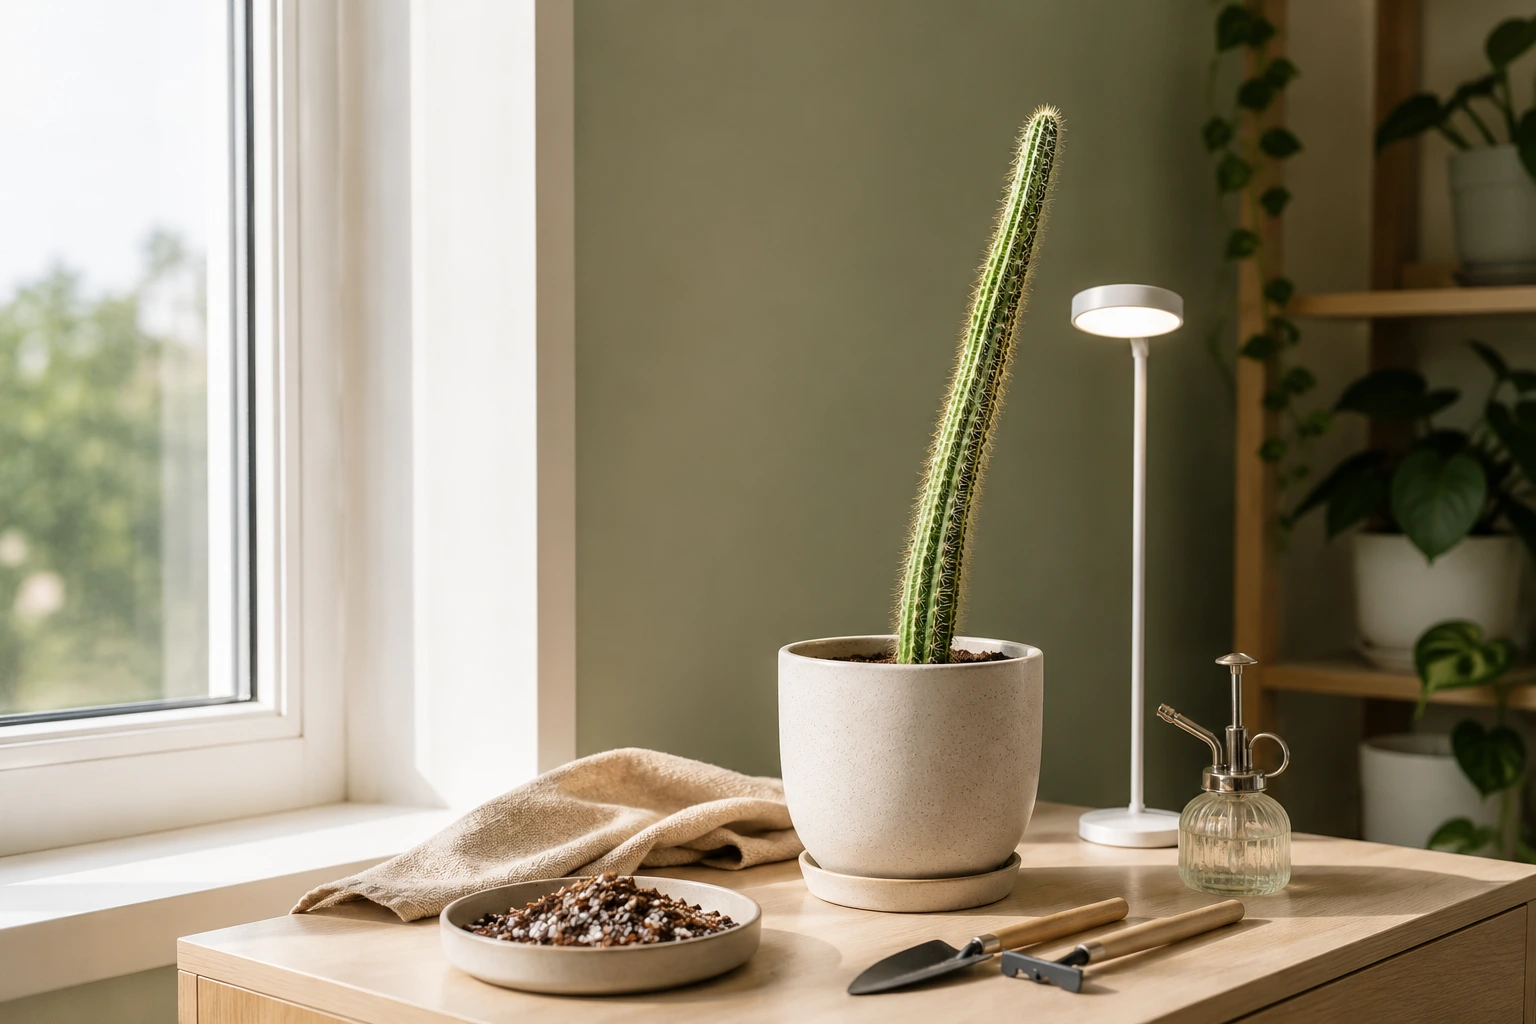
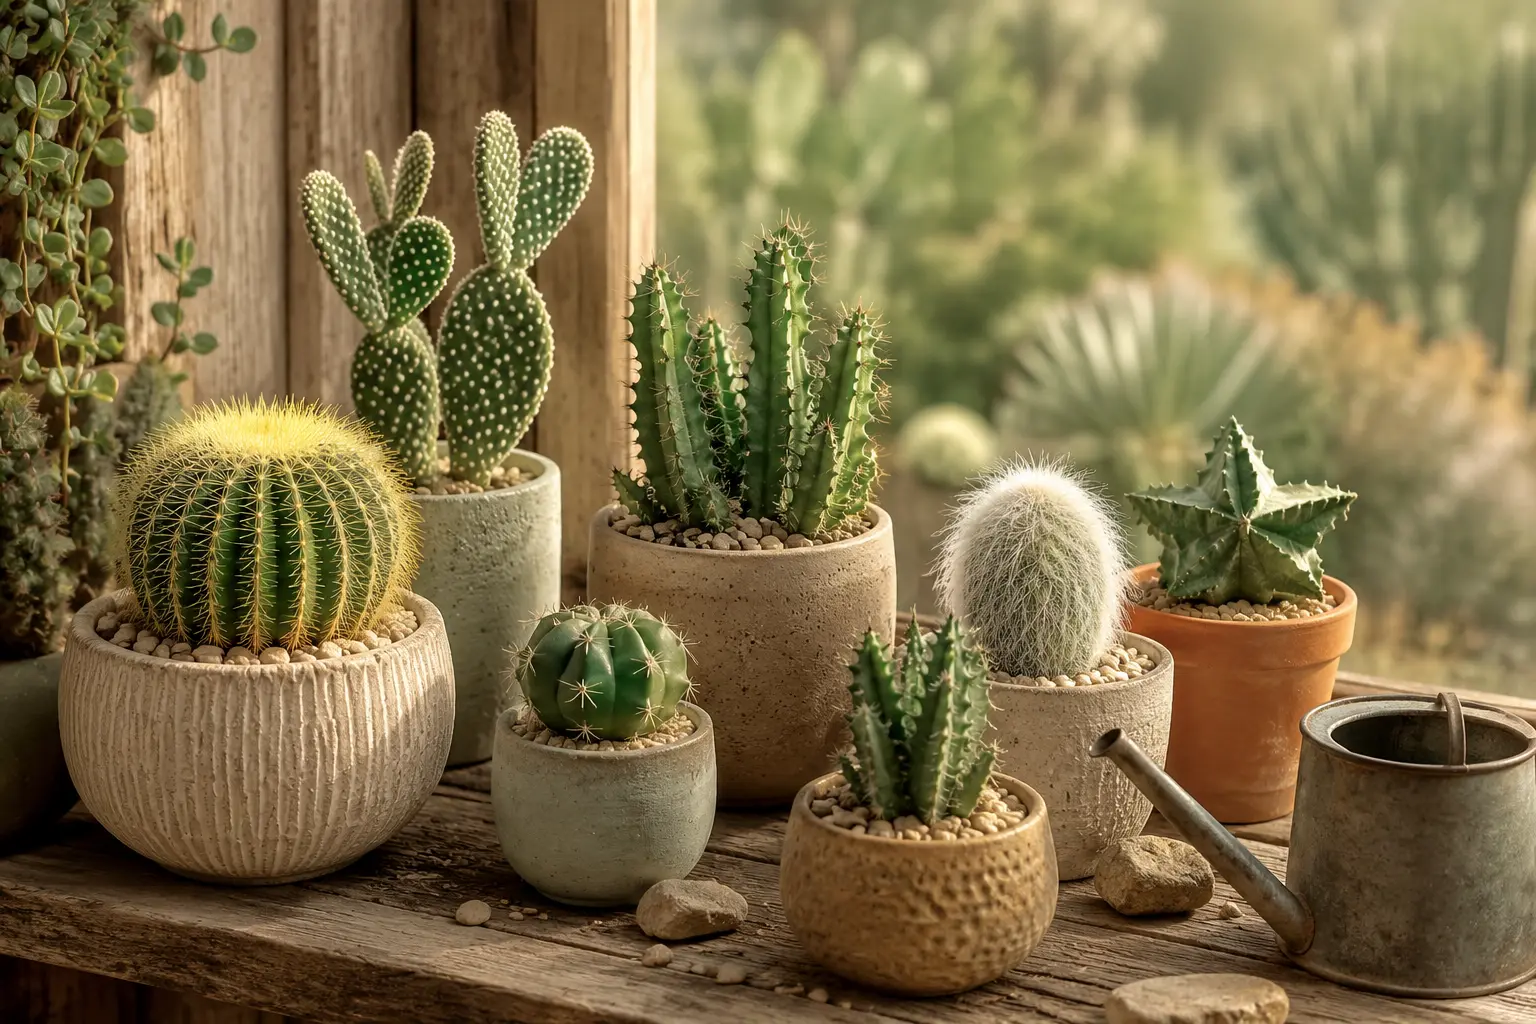
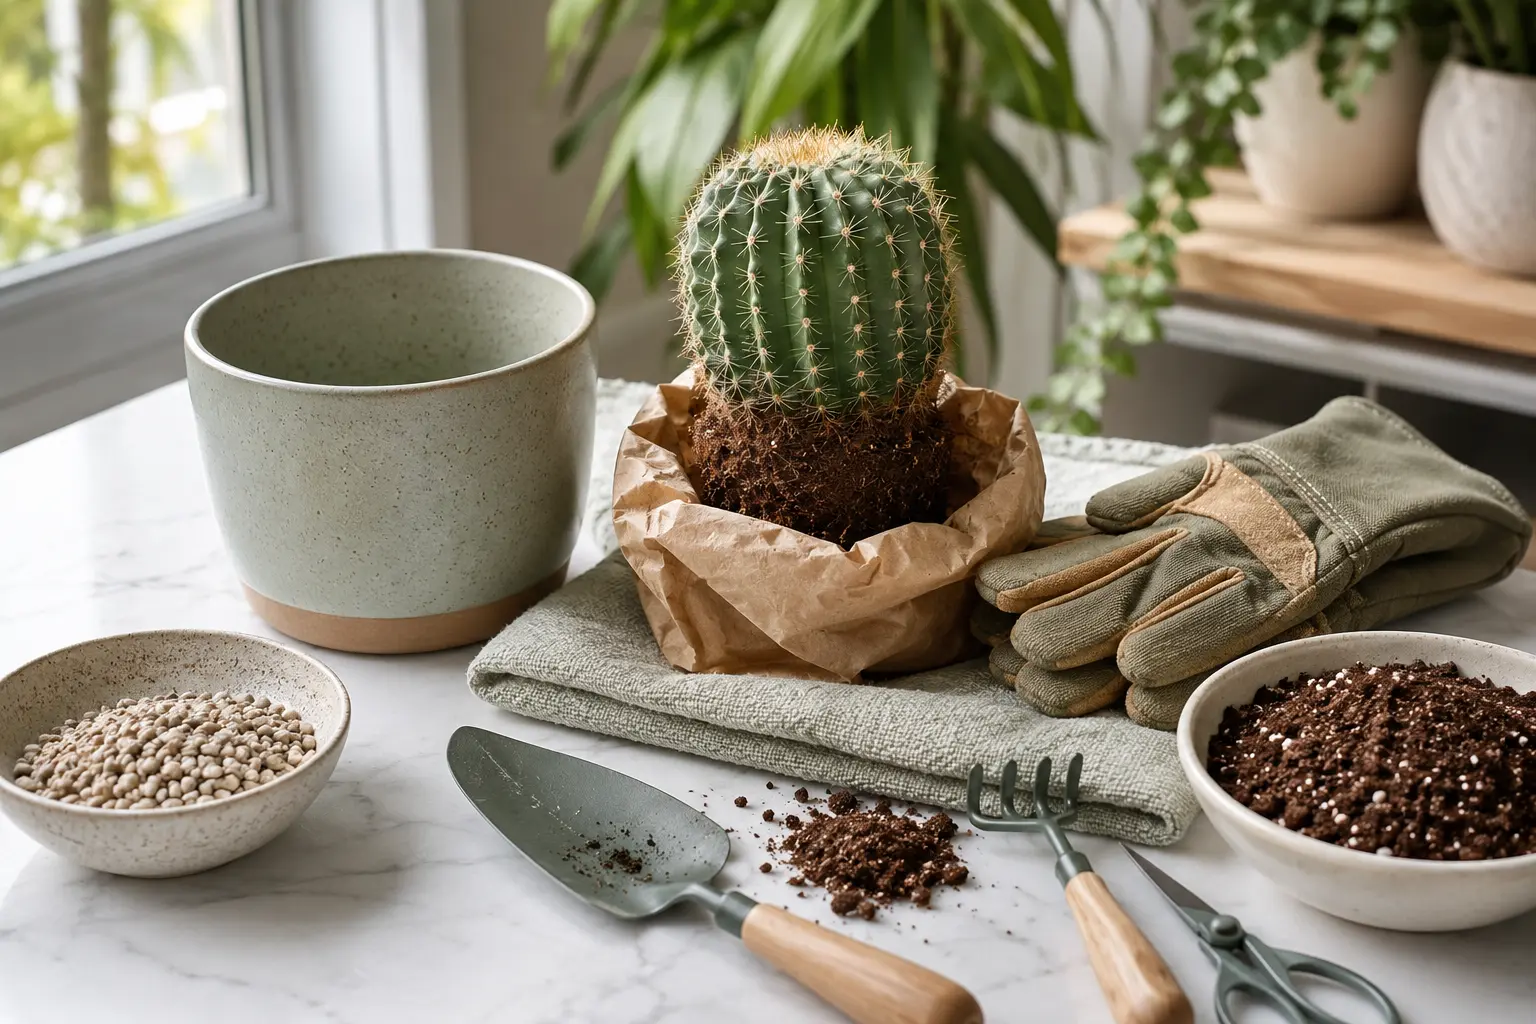
Tools You Need to Repot a Cactus Safely
Before you start, prepare everything you need. Having the right tools ready makes the process safer and easier.
- Thick gardening gloves or leather gloves.
- Folded newspaper, cardboard, or a thick towel.
- A new pot with drainage holes.
- Fresh fast-draining cactus soil mix.
- Small gardening trowel or spoon.
- Clean scissors for damaged roots.
- A tray or table surface that is easy to clean.
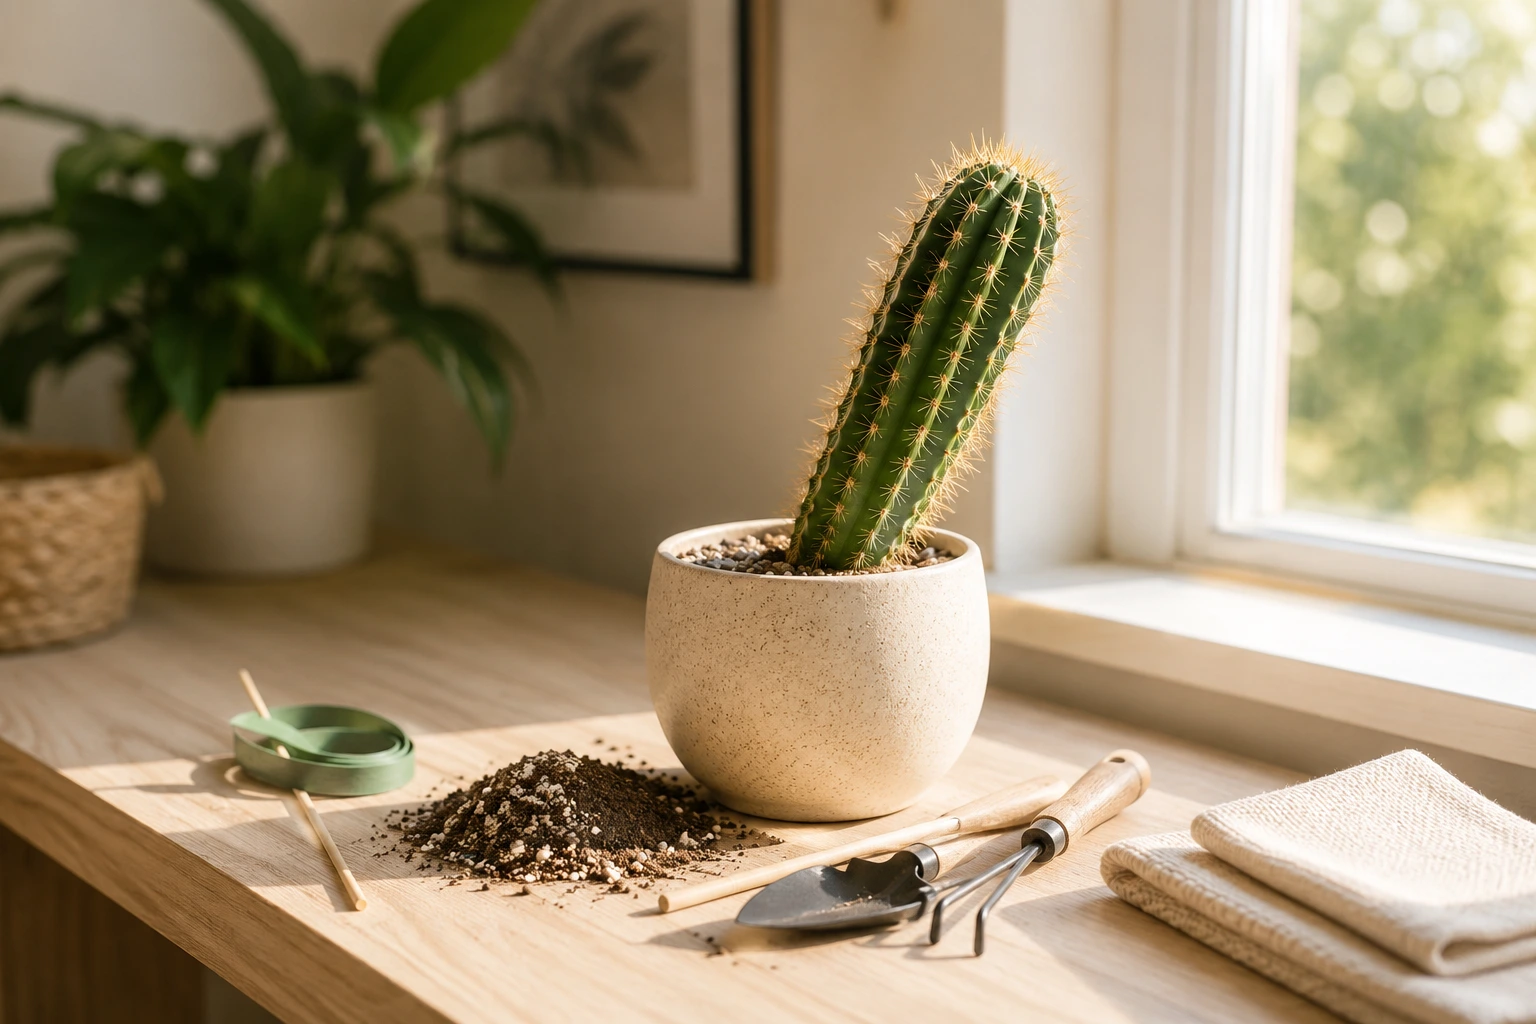
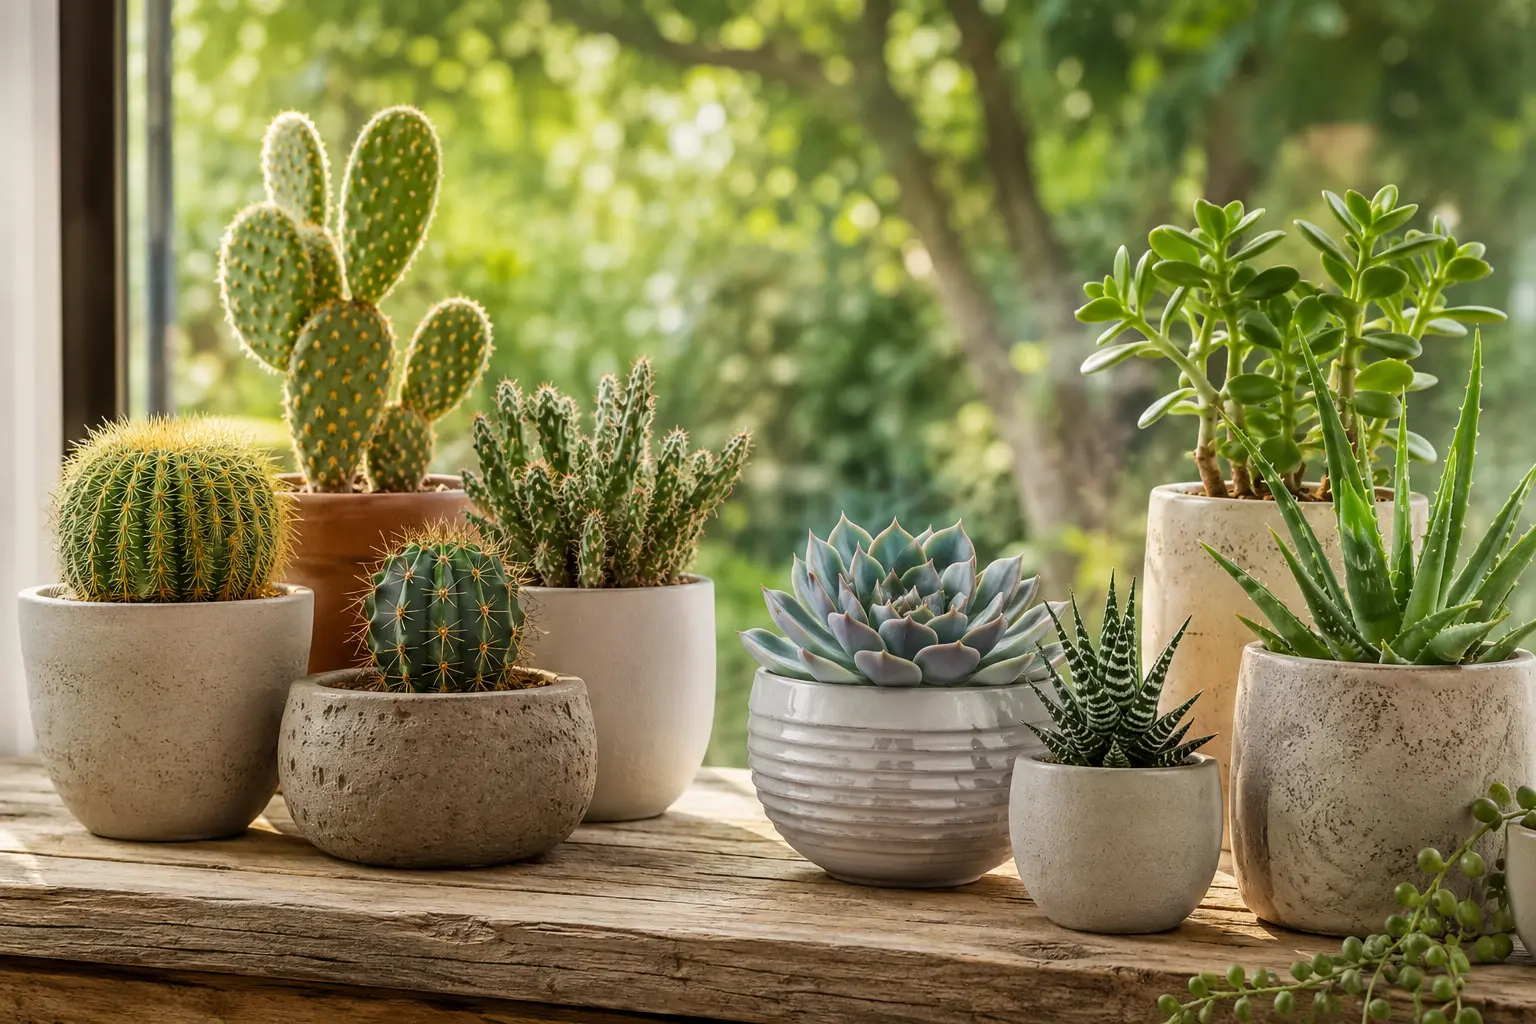
Choose the Right Pot
Choose a pot that is only slightly larger than the current pot. A pot that is too large can hold too much soil and moisture, which increases the risk of overwatering and root rot.
The pot must have drainage holes at the bottom. Drainage holes allow extra water to escape after watering. Terracotta pots are a great choice for cactus plants because they help the soil dry faster.
Use the Right Cactus Soil
Cactus plants need soil that drains quickly. Regular potting soil can stay wet too long and may damage the roots. A cactus soil mix is better because it is lighter and dries faster.
You can use a ready-made cactus mix or make your own by mixing potting soil with perlite, pumice, coarse sand, or small gravel. The goal is to create soil that does not stay wet around the roots.
Step 1: Let the Soil Dry First
Before repotting, make sure the cactus soil is dry. Dry soil is easier to remove from the pot and less messy. It also helps reduce the risk of damaging wet, delicate roots.
Avoid watering your cactus right before repotting. It is usually better to wait several days after the soil has dried completely.
Step 2: Protect Your Hands
Never grab a cactus with bare hands. Even small cactus spines can be painful and difficult to remove. Wear thick gloves and use extra protection such as folded newspaper, cardboard, or a towel around the cactus.
For small cactus plants, folded paper can work very well. Wrap it gently around the cactus like a soft handle, then hold the paper instead of touching the plant directly.
Step 3: Remove the Cactus from the Old Pot
Turn the pot slightly to the side and gently loosen the soil around the edges. You can tap the sides of the pot to help release the root ball. Do not pull hard on the cactus because this can damage the roots or break the plant.
If the cactus is stuck, use a small tool to loosen the soil carefully. Take your time and work slowly. Safety is more important than speed.
Step 4: Check the Roots
Once the cactus is out of the pot, gently remove some of the old soil from the roots. Look for healthy roots and damaged roots. Healthy roots are usually firm and light-colored.
Rotten roots may look brown, black, soft, slimy, or smell bad. If you see damaged roots, cut them away with clean scissors before repotting the cactus.
Step 5: Add Fresh Soil to the New Pot
Add a layer of fresh cactus soil to the bottom of the new pot. Place enough soil so the cactus will sit at the same height it did in the old pot. Avoid burying the cactus too deeply.
Keeping the cactus at the correct height helps prevent moisture from collecting around the base of the plant. The base should stay above the soil line, not buried under wet soil.
Step 6: Place the Cactus in the New Pot
Hold the cactus with your gloves, folded paper, or towel and place it gently into the new pot. Keep the plant centered and upright. Add soil around the roots until the cactus feels stable.
Do not press the soil too hard. Lightly firm the soil so the plant stands well, but keep the mix airy enough for good drainage and root health.
Step 7: Wait Before Watering
After repotting, do not water the cactus immediately. Wait several days before watering. This gives any small root injuries time to heal and reduces the risk of rot.
When you water again, water lightly at first. Then return to your normal cactus watering routine: water only when the soil is completely dry.
What to Do If You Get Cactus Spines in Your Skin
If you accidentally get cactus spines in your skin, remove them carefully. Larger spines can often be removed with tweezers. For tiny spines, you can use sticky tape to lift them from the skin.
Wash the area with soap and water after removing the spines. If the area becomes very painful, red, swollen, or irritated, seek medical advice.
Common Repotting Mistakes to Avoid
- Holding the cactus with bare hands.
- Using a pot without drainage holes.
- Choosing a pot that is much too large.
- Using heavy soil that stays wet too long.
- Watering immediately after repotting.
- Pulling the cactus too hard from the old pot.
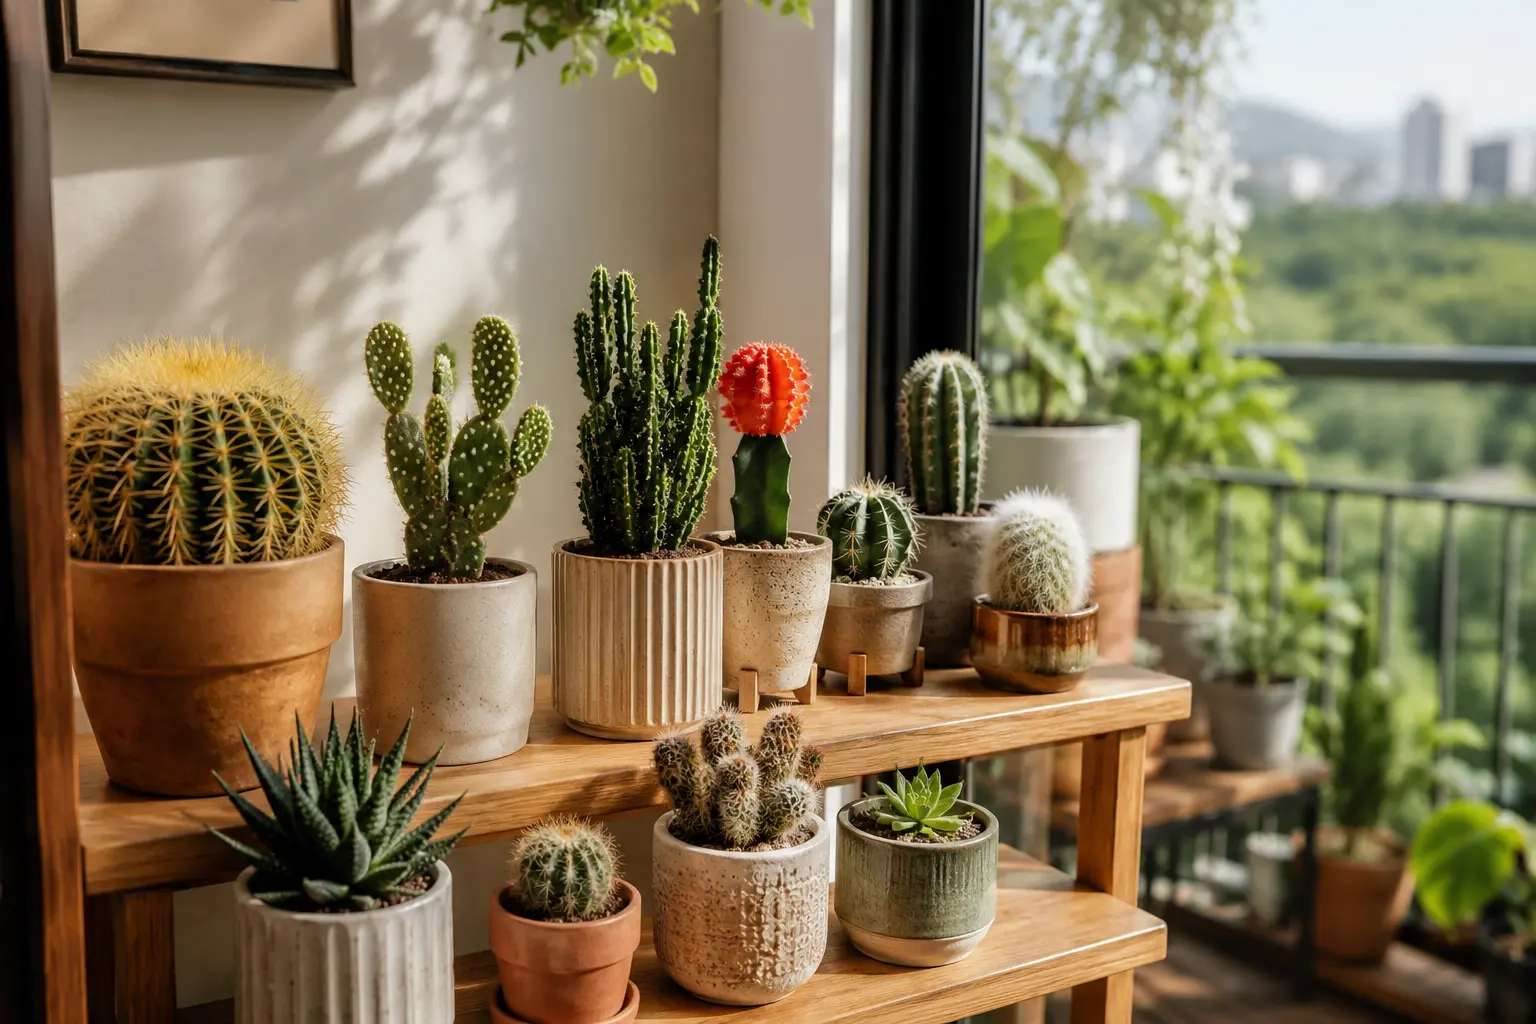
Aftercare Tips
After repotting, place your cactus in bright indirect light for a few days. Avoid very strong direct sunlight right away because the plant may be slightly stressed from repotting.
Watch the cactus over the next few weeks. It may take some time to adjust to the new pot. As long as the cactus stays firm and healthy-looking, it is likely doing well.
Final Thoughts
Repotting a cactus without hurting yourself is possible when you prepare properly. Use thick gloves, folded paper or a towel, a pot with drainage holes, and fresh fast-draining cactus soil.
Work slowly, protect your hands, and avoid watering immediately after repotting. With the right steps, you can move your cactus safely into a new pot and help it continue growing strong and healthy indoors.